Required permission:
- View configuration
- Create configuration (Save as Profile)
- Edit configuration (change any setting)
- Edit constraint (add, change or delete capacity constraints)
- Delete configuration (delete a profile)
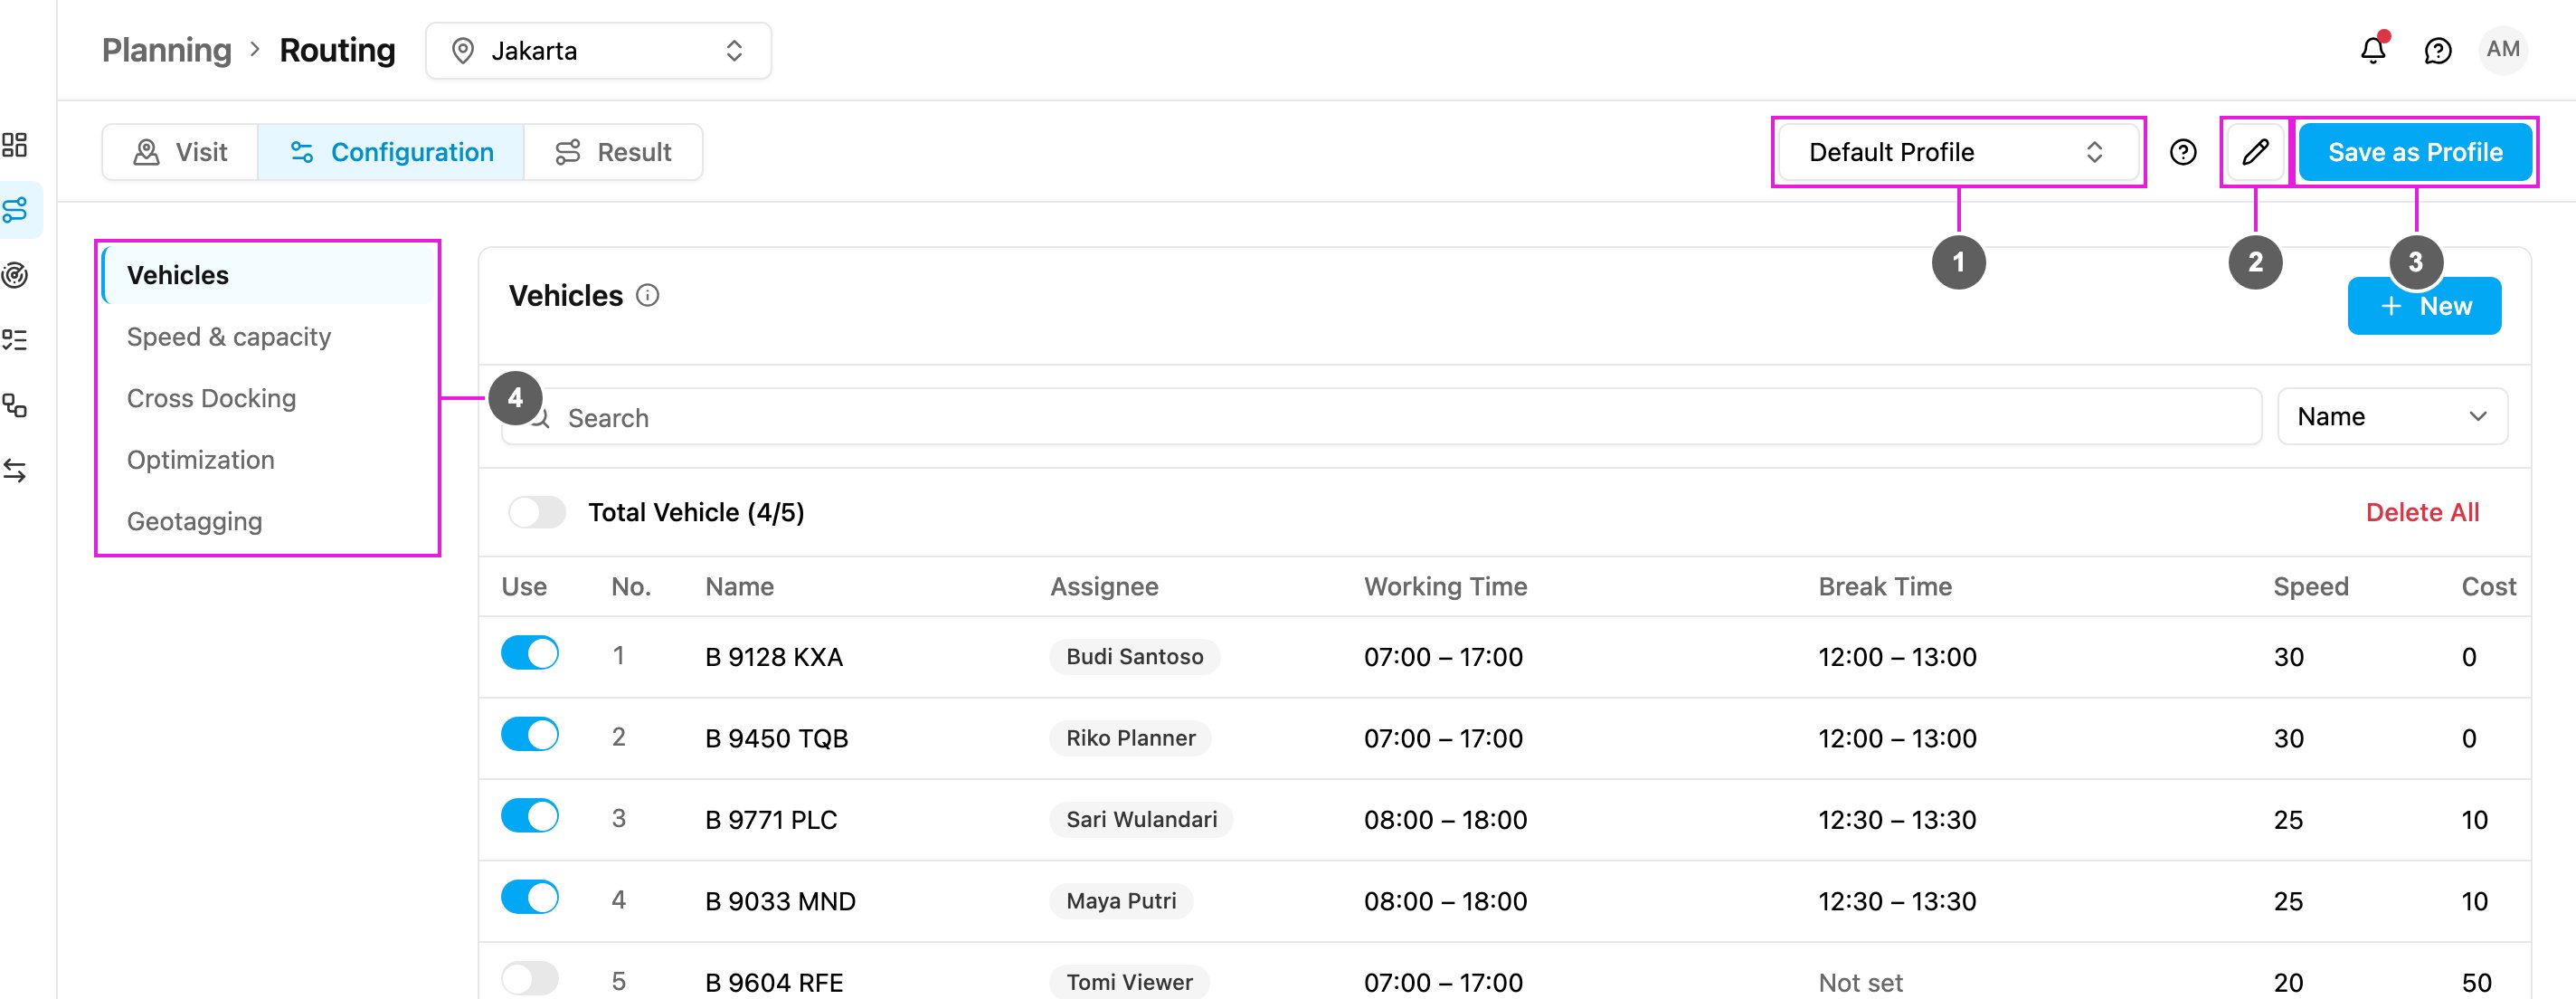
- Profile: the configuration profile you are looking at. Pick another one to make it the hub’s active profile.
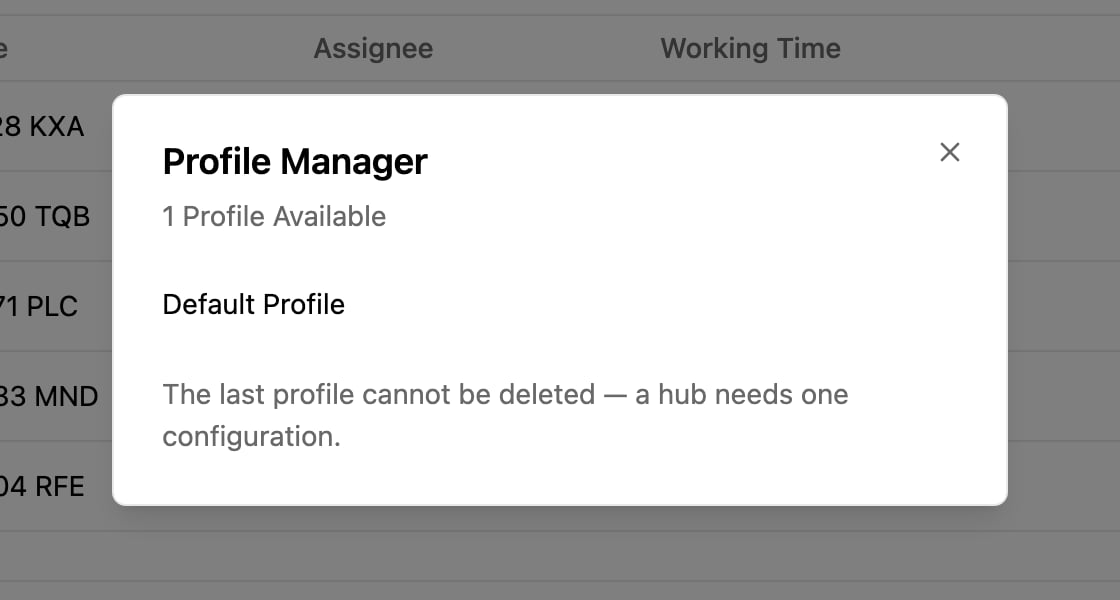
- Profile Manager: rename or delete profiles.
- Save as Profile: save the current settings as a new profile.
- Sections: jump to Vehicles, Speed & capacity, Cross Docking, Optimization or Geotagging.
Saving
There is no Save button. Every change is saved to the profile as soon as you make it: a switch, checkbox or option the moment you click it, and a typed value (a speed, a visit time, a constraint name) when you leave the field. A value that isn’t valid, such as a speed below 5 or a negative visit time, is not saved; the field shows what to fix and the profile keeps its last valid value. If a change can’t be saved, for example because you don’t have the Edit configuration permission, a message says so and the setting goes back to what it was. Each section title has an info icon. Hover it to read what the section is for.Sections
Speed & capacity
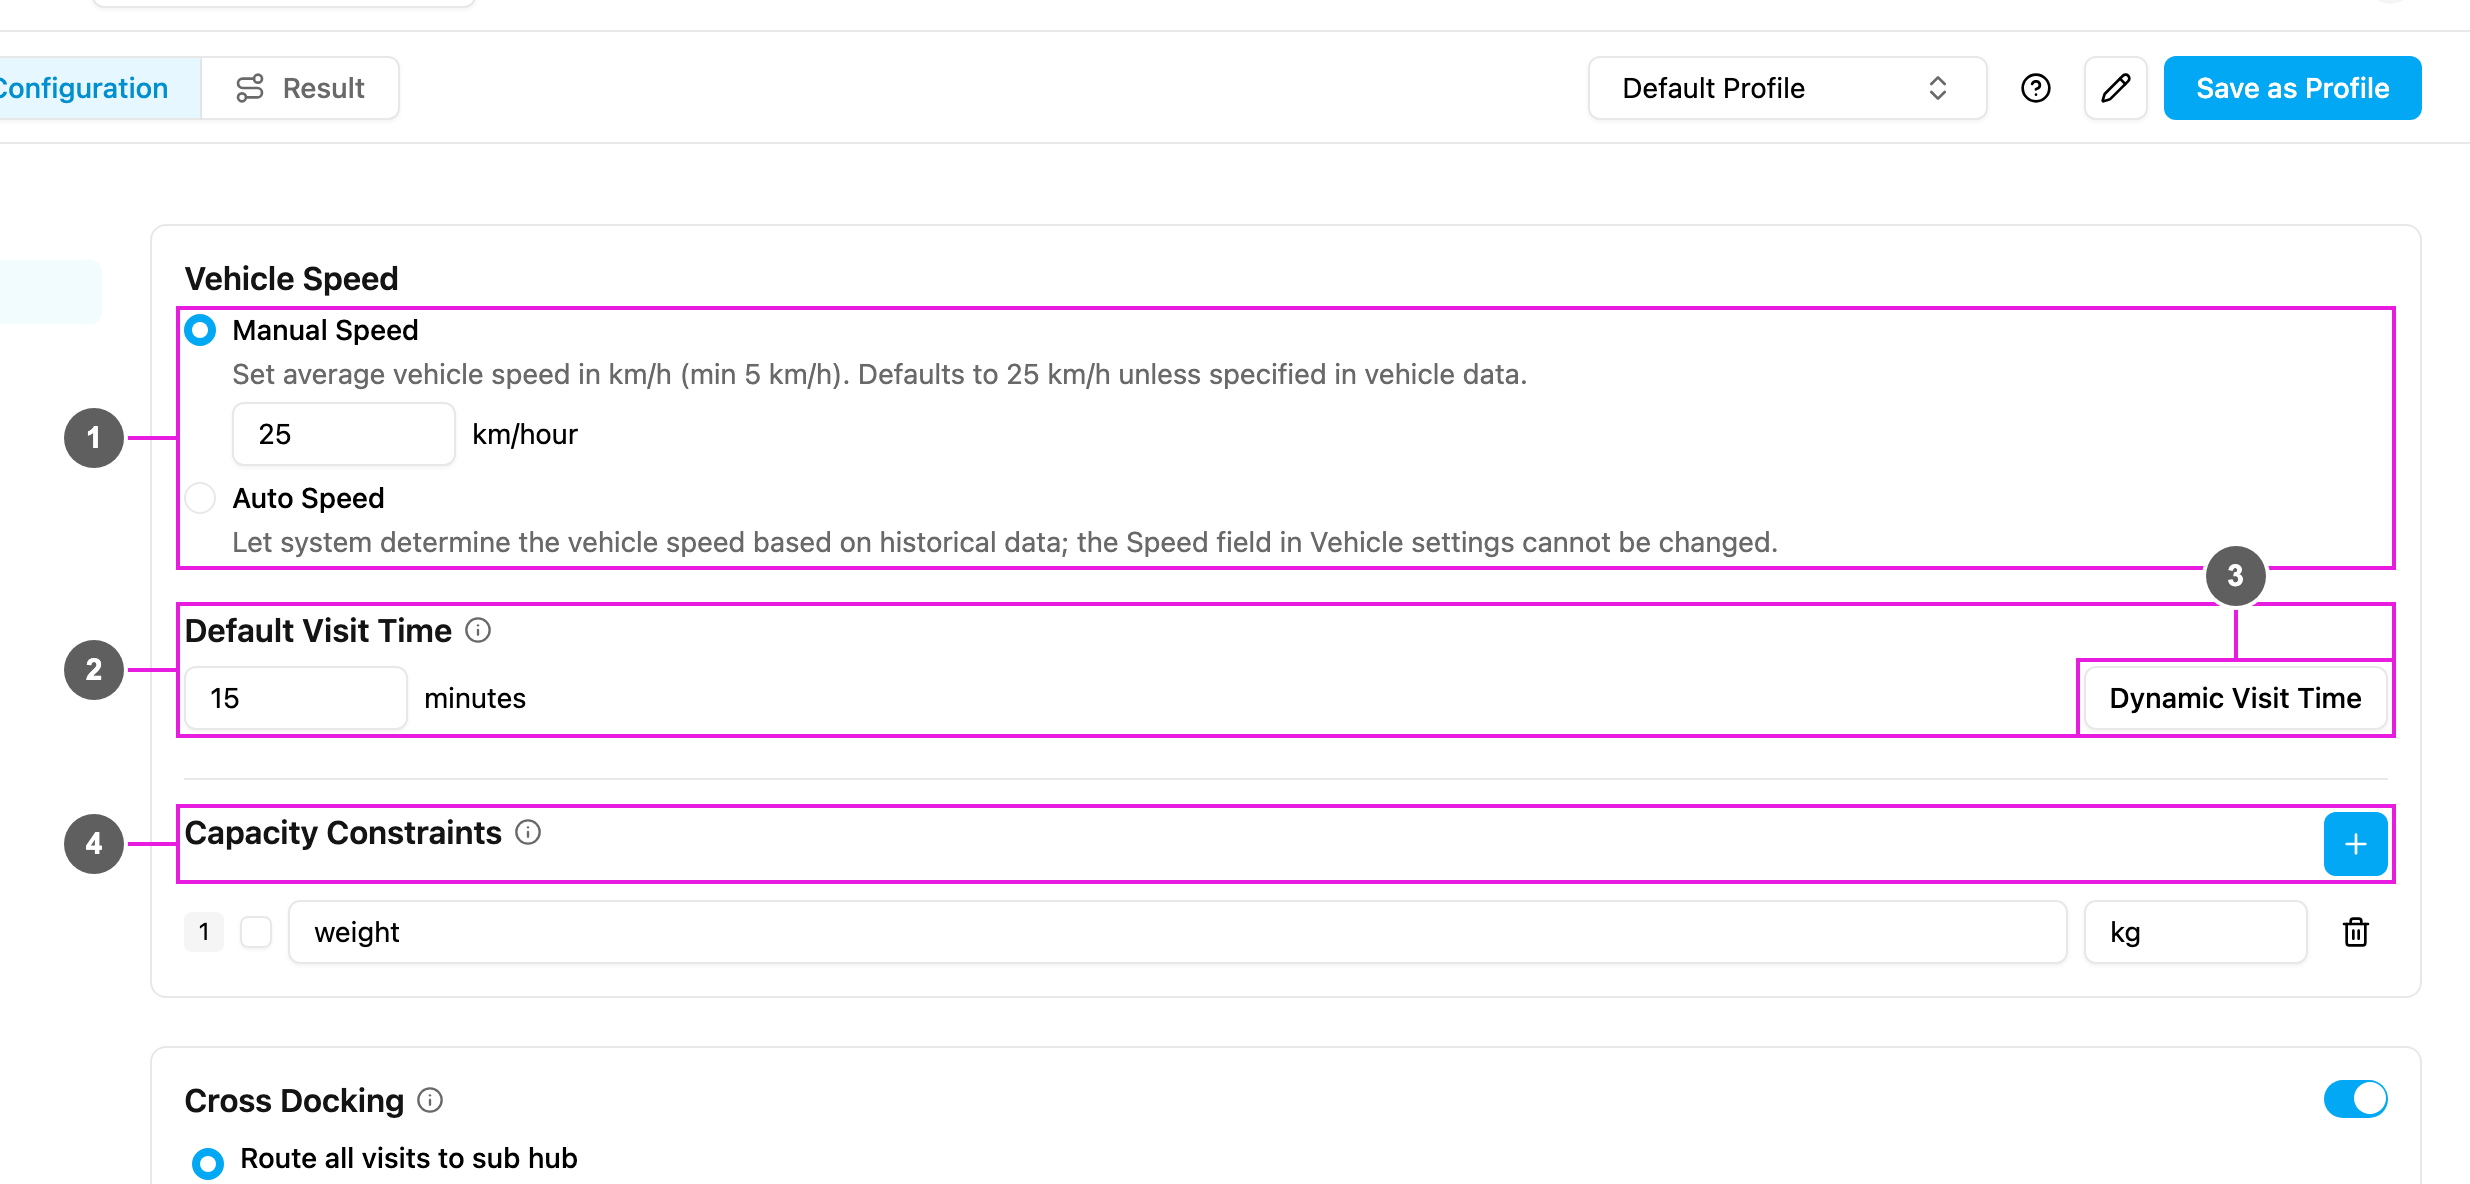
- Vehicle Speed:
- Manual Speed: set the average vehicle speed in km/h (at least 5 km/h: Speed must be at least 5 km/h.). It is 25 km/h unless a vehicle has its own speed.
- Auto Speed: the system works out each vehicle’s speed from historical trips in that area. The Speed field of the vehicles is then locked.
- Default Visit Time: how many minutes a visit takes when the visit itself does not say. A whole number of 0 or more.
- Dynamic Visit Time: make the visit time depend on the load. See Dynamic Visit Time.
- Capacity Constraints: the capacities this profile checks, such as weight or volume. See Capacity Constraint.
Optimization options
Visits can also be kept together with Visit Group.
Profiles
A profile is a saved set of configuration. A hub can have as many profiles as you need, so you can keep a setup for each situation, for example one for weekdays and one for weekends, without changing the settings every time. Profiles are optional: when you have not made any, the hub uses Default Profile, and Optimize on the Visit page uses whatever profile is selected here.Creating a profile
Click Save as Profile, type a Profile name and click Submit. The new profile starts with the current settings: Configuration is successfully saved as a new profile.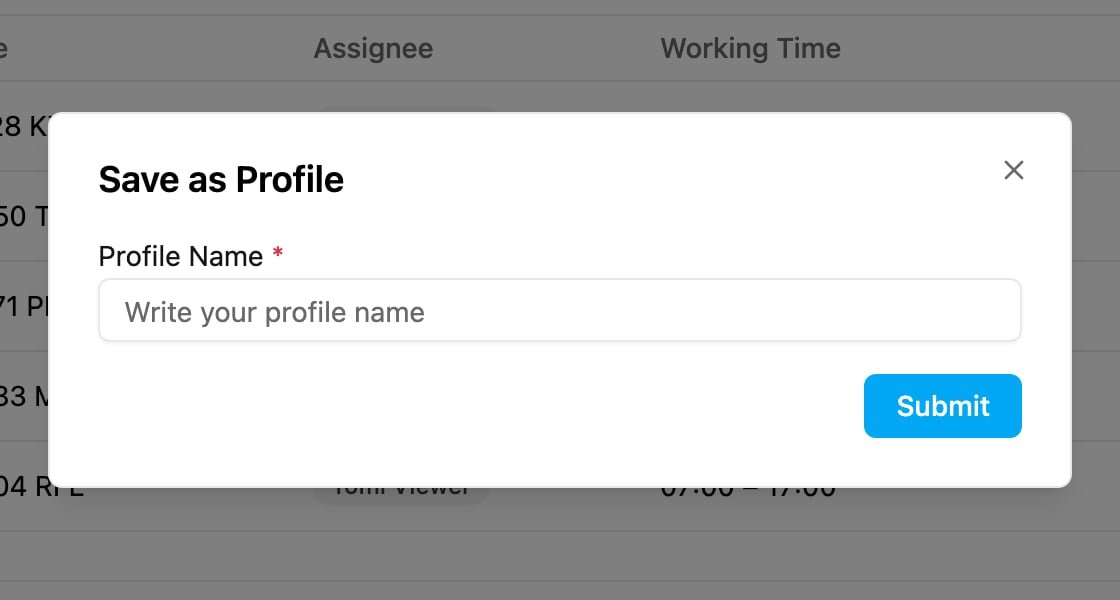
Renaming and deleting a profile
Click Profile Manager. It lists the hub’s profiles with a rename icon and a delete icon on each. A profile name can’t be empty, can’t contain special characters, and can’t be one the hub already uses.